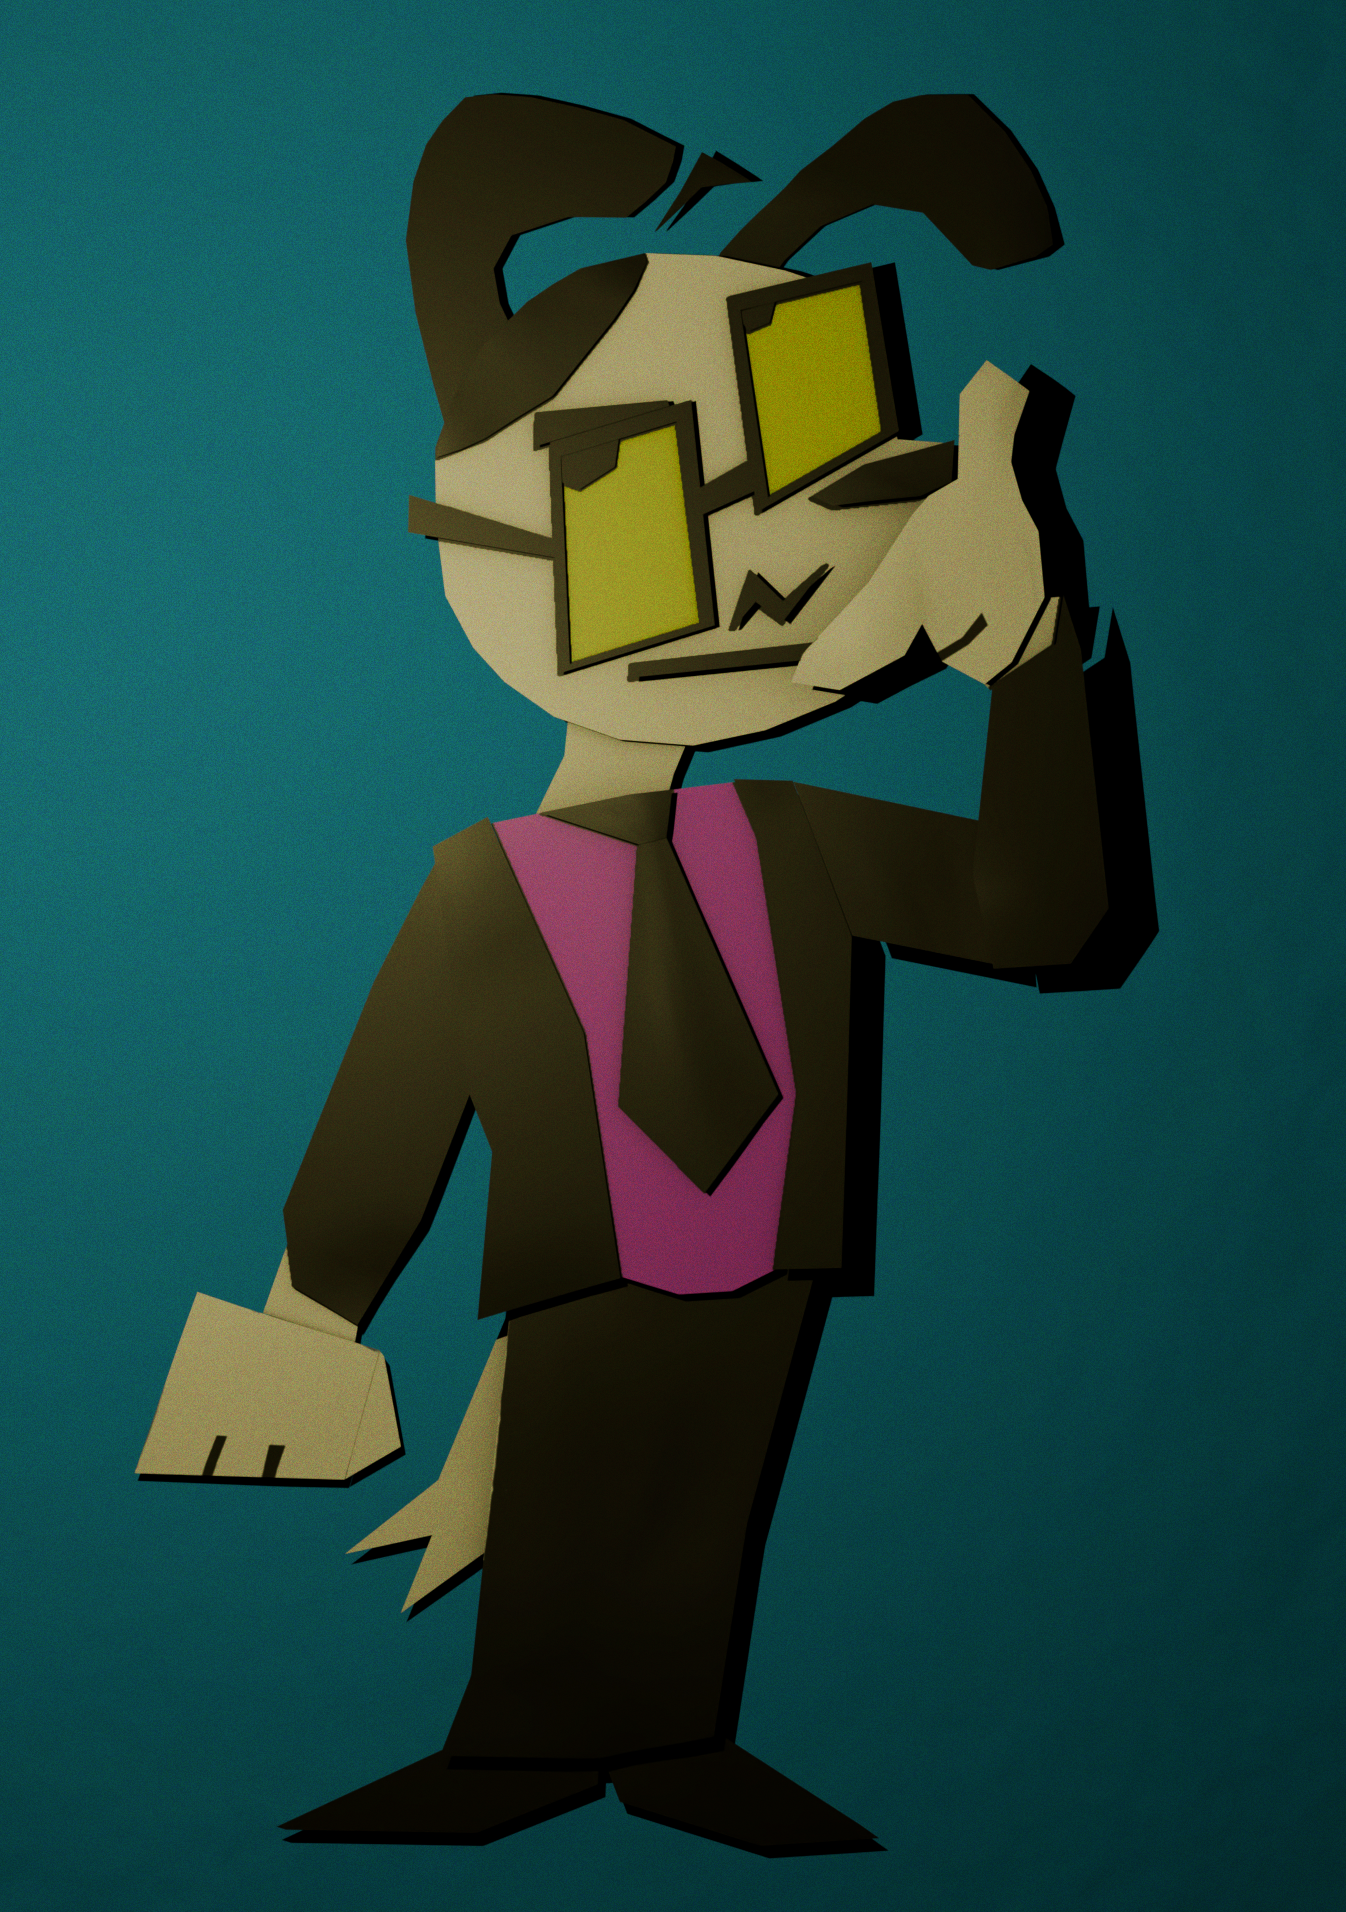
Hi, today I will try to explain a little bit how did I manage to convince some people that this 3D render looks like a paper cutout.

Before reading, it's important to note that I won't be able to explain everything without recording a video, so some knowledge of Blender is required. This isn't a tutorial, but more like just sharing tips.
Concept:
Before modeling, it's always good to start with concept. For this exact project, I used polylines to make it look like as if the shapes are cut out with scissors (duh).
Modeling:
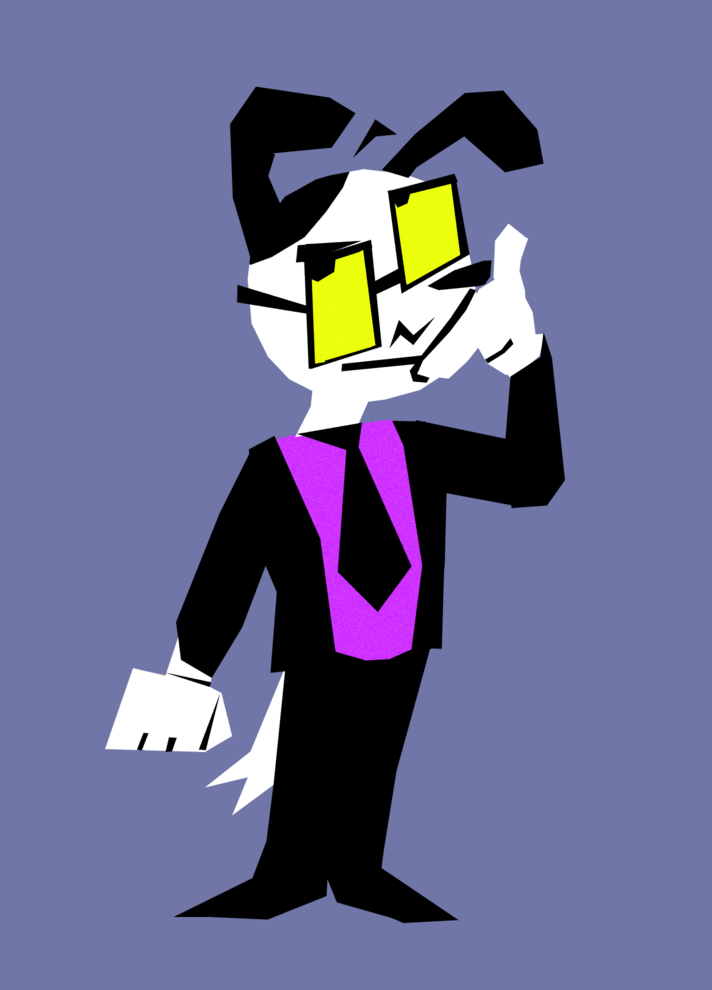
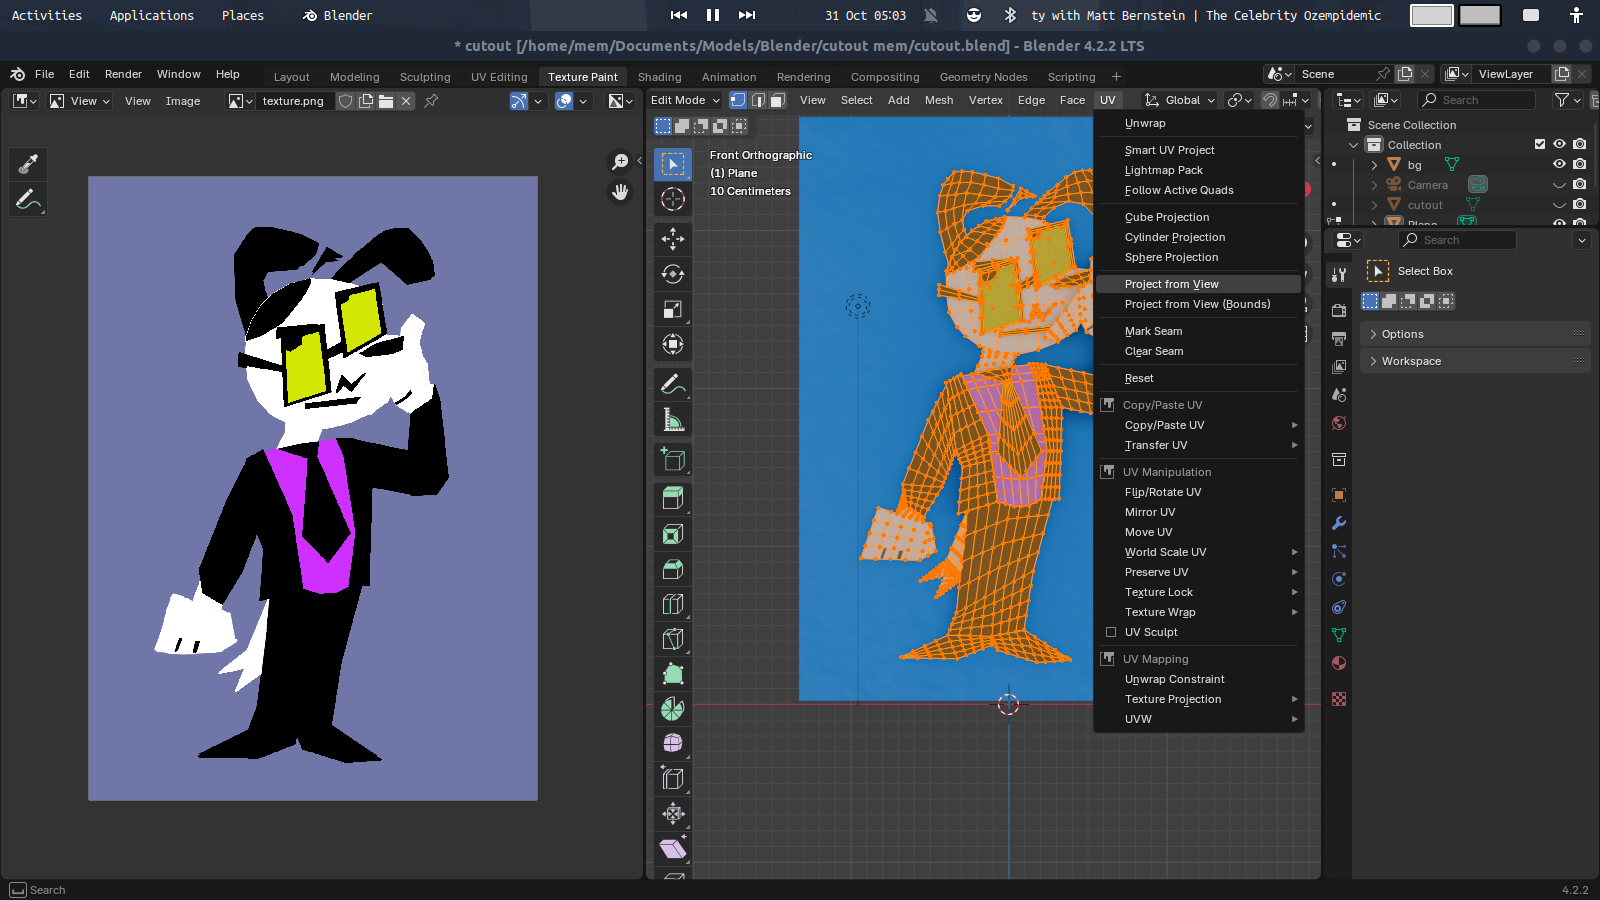
Now all you have to do is create planes and subdivide them to create extra geometry (that's important). I also prefer to go with textures instead of coloring each material.
You can manage to do that by Projecting UV from view.
Why did I mention that creating extra geometry on these planes is important? Because in real life, paper isn't perfectly straight. You have to make some subtle bumps to make it look convincing.
You can do that with Proportional editing.
Rendering nodes:
Now, you have set up lights, colored everything, the next step is setting nodes on Shading tab. Feel free to experiment with settings.
Fursona's nodes:
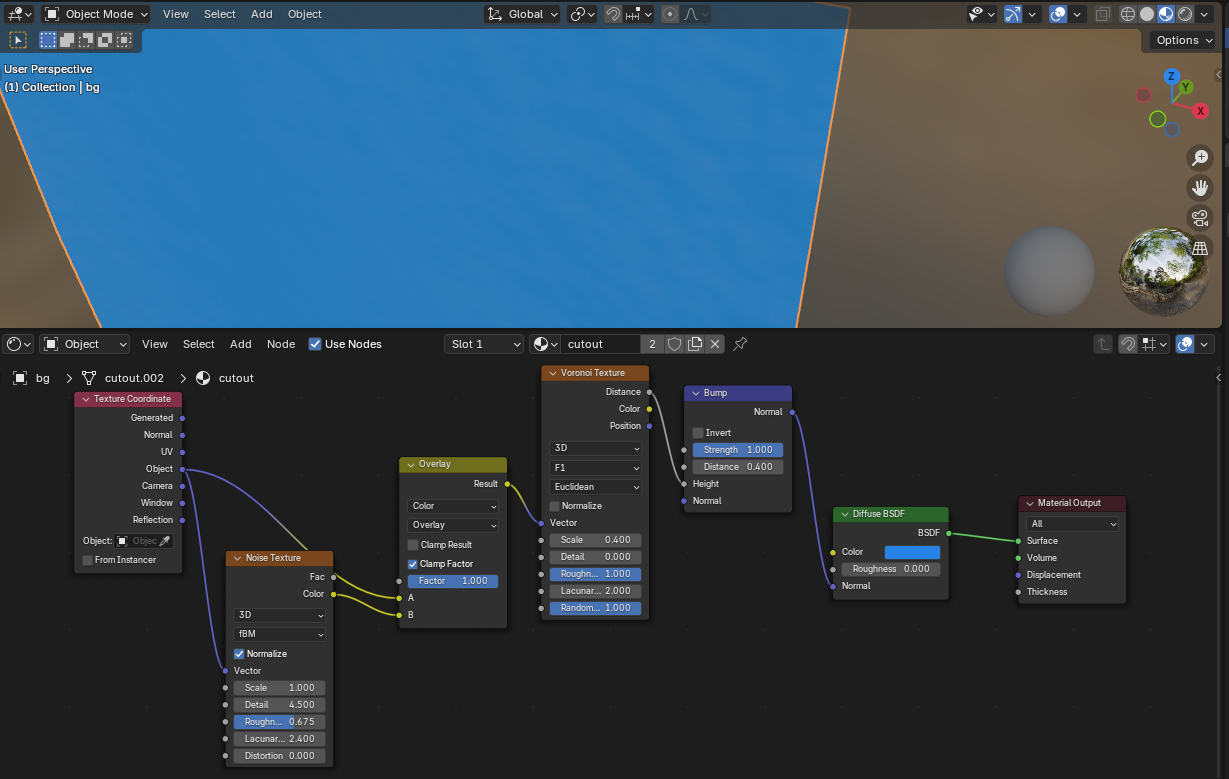
Background's nodes:
Things are more interesting with the background. Noise texture aside, I used Voronoi Texture and Bump.
In fact, for these nodes I followed first part of this tutorial by Sina Sinaie:
That's basically it. You can render both in EEVEE and Cycles. If you want to observe the blender file, I've uploaded it on Ko-Fi for everyone who donated to me at least once, for that click on the image below:


